3. Impression 3D#
3. Impression 3D#
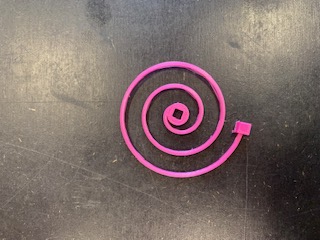
On this module, we printed the spiral to form the catapult, in the aim to learn how to operate with a 3D printer effectively and understand both its advantages and limitations.
Today’s objective is to print the models designed in the previous week using the PrusaSlicer software.
On OpenSCAD, i’ve exported the spiral into an .stl file
Operation of the 3D Printer and Use of PrusaSlicer:#
A 3D printer operates by stacking layers of plastic (or other materials, typically plastic) to construct a three-dimensional object. The 3D printers we’ll be using are the Prusa MK3 models.
The steps to follow are as follows:
On OpenSCAD, i’ve exported the spiral into an .stl file.
Slicing: Our 3D model is then processed by slicing software that divides the model into horizontal layers (slices) so that the printer can print them one by one. Each slice is converted into specific instructions for the 3D printer. The slicing software we’re using today is PrusaSlicer.
Importing the 3D Model into PrusaSlicer. The object must be well-centered, and its largest surface must be in contact with the printing bed.
Prusa Slicer#
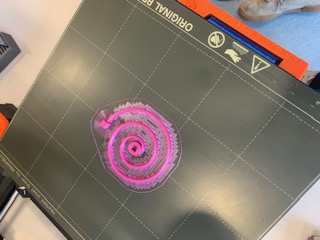
I’ve then open the file in PrusaSlicer, where i changed the skirt and brim values. We printed the spiral a first time but we realize the temparature of the machine was wrong. We then changed the filament parameter and that solved our problem.
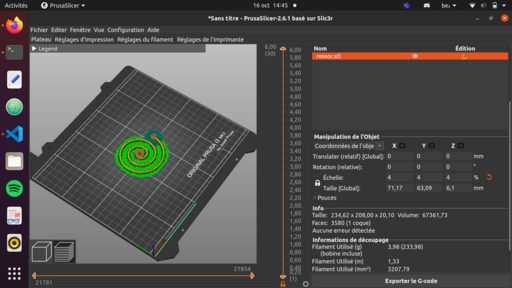
The parameters we uses to solve our problem:
Configuring the Printer on PrusaSlicer: Before starting the print, we need to configure our printer on PrusaSlicer.
Filament Selection: Generic PLA (default).
Layer Height: 0.20mm QUALITY (default).
Supports: Useful when an element is printed with an overhang angle exceeding 45° (risk of collapse).
Infill: 15% (default).
Printing on the machine#
We send the file to the machine via a usb key containing an SD card, by exporting the G-code from our computer. The printing was about 15min long and we succeed to obtain our spiral.
In case of emergency, there is this really good video about the machine made by Joseph Prusa himself
Printing more?#
I was really excited to try to print my lipstick holder pendant, but having to deal with a lot of projects from other classes, exams and my group project (you can check it out here!) that took more time that expected, it will be printed in the futur (futur me is going to update you about it, pinky swear)